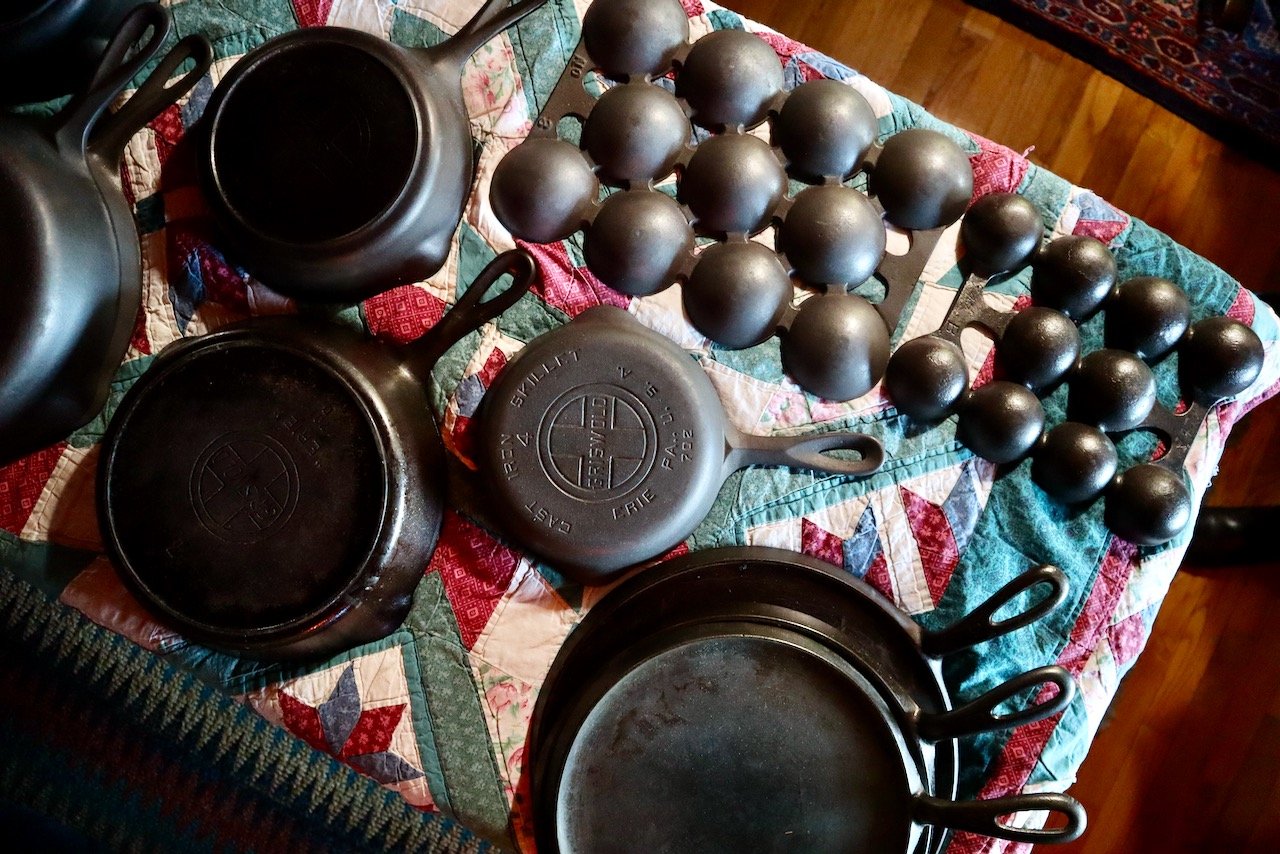
Jim Nance’s Cast Iron Tips
Parts 1 and 2: Identifying and Restoring Cast Iron Cookware
Part 1. A Short History of Cast Iron and Tips for Identifying Antique Pieces
Cast iron cookware was steadily produced in the United States throughout the colonial period and beyond; after the Civil War its quality and casting techniques were greatly improved.
The Big Two, Later Merged Into One- Griswold and Wagner
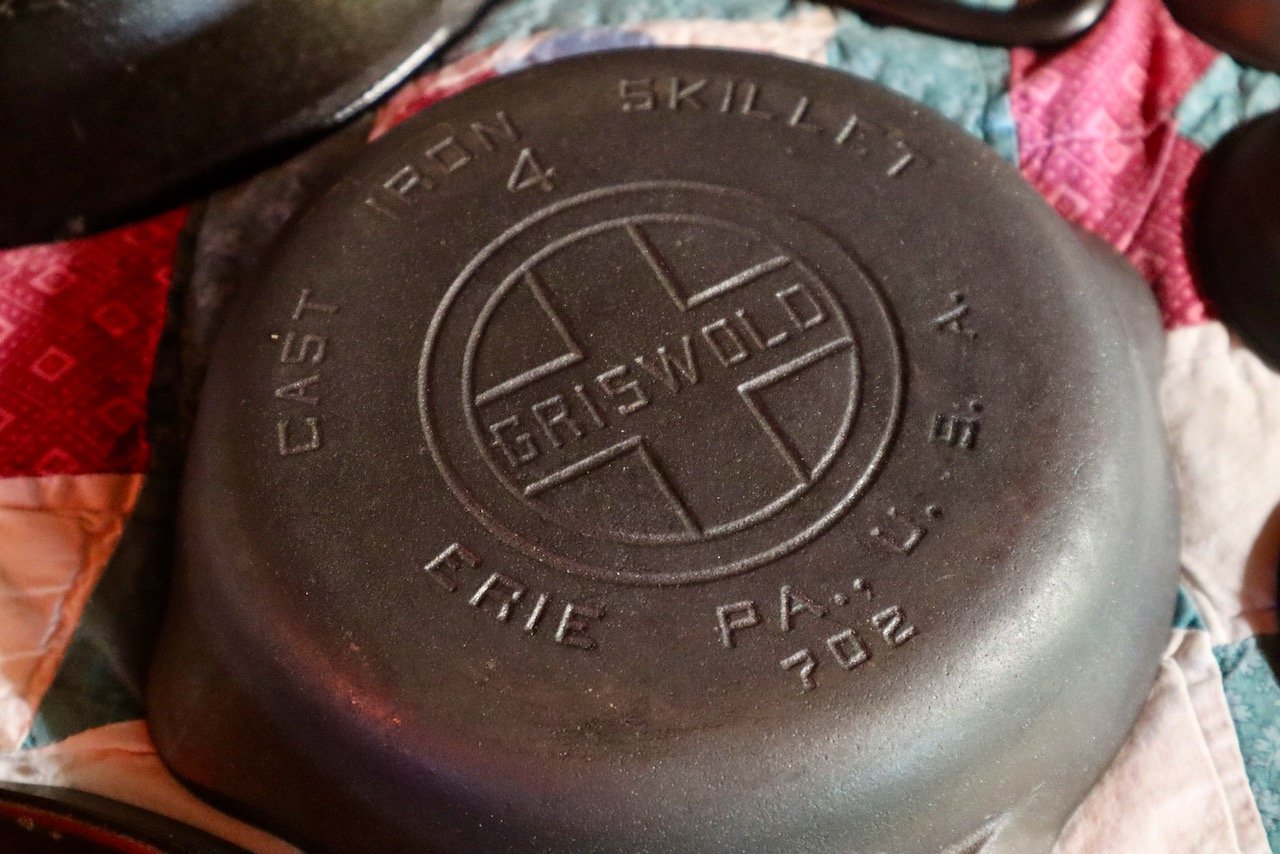
Griswold
1865: Seldon Griswold founded Griswold Mfg. in Erie, Pa
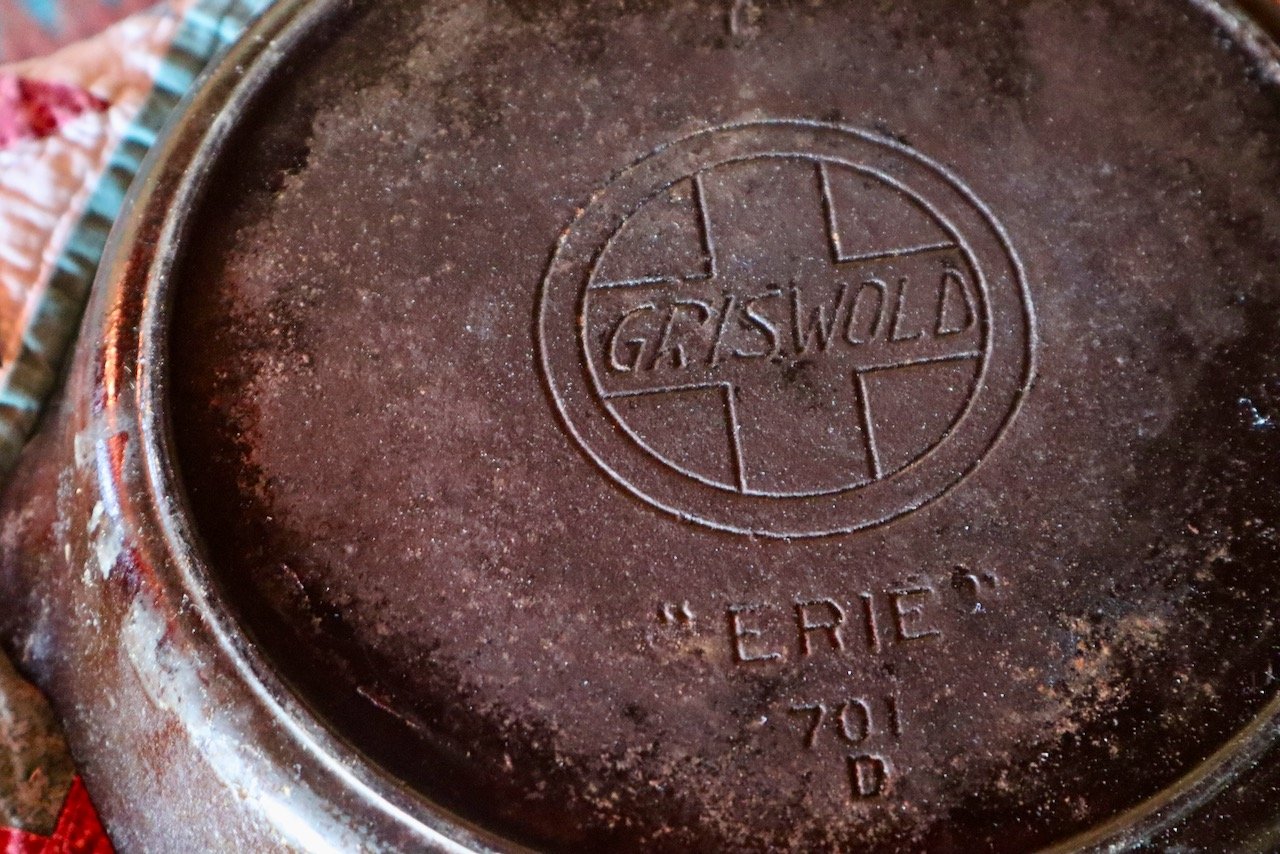
1865-1890: “Erie” (with quotation marks) was the logo used on most skillets
1890: Pattern numbers were added
1890-1909: Both “Erie” and pattern numbers were on most skillets
1909-1919: Erie was changed to slant letters
1909-1922: EPU (Erie Pennsylvania United) in slant letters was also used
1922-1938/40: EPU in block letters was in use
Until 1957: The small Griswold emblem remained in use until Griswold went out of business in 1957
Wagner
Ca. 1870: Sidney was founded in Sidney, Oh.
1870-1890: Sidney name was used
1890-1910: Wagner name was used
1910-1920: Wagner pie logo was introduced
1920-1960: Stylized Wagner logo was in use
1957: Wagner bought out Griswold
1960 and beyond: Wagner name was bought and sold several times
Skillets and other pieces with a ring on the bottom were designed for wood and coal-burning stoves and were generally not manufactured after the late 1930s as electric and gas ranges came into use.
Part 2: You’ve Found a Great Piece; Now What?
Remove surface dirt and dust with a cloth or brush.
Take the piece outside or to a well-ventilated area and place it in a heavy duty plastic trash bag.
Spray all surfaces thoroughly with oven cleaner. (Use rubber gloves and eye protection!)
Seal trash bag and allow the piece to rest overnight before proceeding.
The next day, unwrap the piece and remove as much loose residue as possible with a wire brush or scrubber.
Rinse off remaining oven cleaner and wash in soapy water, using Brillo pads, synthetic scrubbers, stainless steel wire brushes etc. as needed to remove buildup.
You may need to repeat any or all of the above steps until the surface is grime-free! When you’re satisfied that it’s clean, dry thoroughly before re-seasoning.
Ready for the Cure?
Here’s how to pre-season your cast-iron piece:
Place your thoroughly dry piece in an oven heated to 180-200 degrees for 15 minutes.
Remove from the oven and carefully coat the pan with a neutral cooking oil such as vegetable or olive oil.
Return the pan to the oven for 30 to 40 minutes (cover the bottom of the oven first with aluminum foil to catch oil drips).
Remove the pan from the oven, let it cool down slightly, then wipe off excess oil.
Your new/old piece is now ready to cook in!
Parts 3 and 4: Cooking with Cast Iron and Caring for It
Part 3: Ready to Cook?
If you’re making cornbread, place your skillet, corn stick pan, or muffin pan in the preheating oven for 10 minutes, and take out when hot before adding oil and batter to it.
For waffles, preheat irons several times on both sides before spraying or brushing with oil. They should be hot enough to smoke. Give one side an extra heating turn and pour your first portion of batter on that one. Preheat irons between waffles. The simpler your pattern, the easier the turning-out process!
Skillets are good for steaks, chops, hamburgers, vegetables, and frittatas.
Griddles are great for general breakfast foods like pancakes, eggs and bacon, and also for grilled cheese sandwiches and steaks.
Skillet/griddles are great for all of the above plus omelets.
Dutch ovens are the most functional piece of cast iron and can be used to cook chili, stews and soups, even for pot roasts and baking cakes or no-knead bread.
A Chuck Wagon Dutch oven with legs can be used in open fireplaces or outdoors on grills, over campfires, etc. for all kinds of cooking. It usually a lid with a lip in it for hot coals. Used in this way, it becomes an oven and you can bake biscuits, bread and pies in it.
Part 4: Keep It Clean!
The best way to keep your cast iron clean and functional is to cook in it — a lot!
After each use, wipe it out and give it a quick scrub (with dish soap if needed), a good rinse and a thorough drying.
Coat the cooking surface (don’t forget the sides!) with a little bit of vegetable oil and place on the stove for five to ten minutes over medium-low heat. Or slide the pan into a still-warm oven and keep it there until needed again.
For additional information visit www.americastestkitchen.com/guides/cook-it-in-cast-iron
© 2022, Holly Hill Inn/Ilex Summit, LLC and its affiliates, All Rights Reserved
Related Content
Southern Collard Greens
Chef Chris Cain in collaboration with Black Soil: Our Better Nature presented his collard greens at Kentucky's AgriTech Council and shares his mouthwatering recipe here


